“This post contains affiliate links, and I will be compensated if you make a purchase after clicking on my links.”
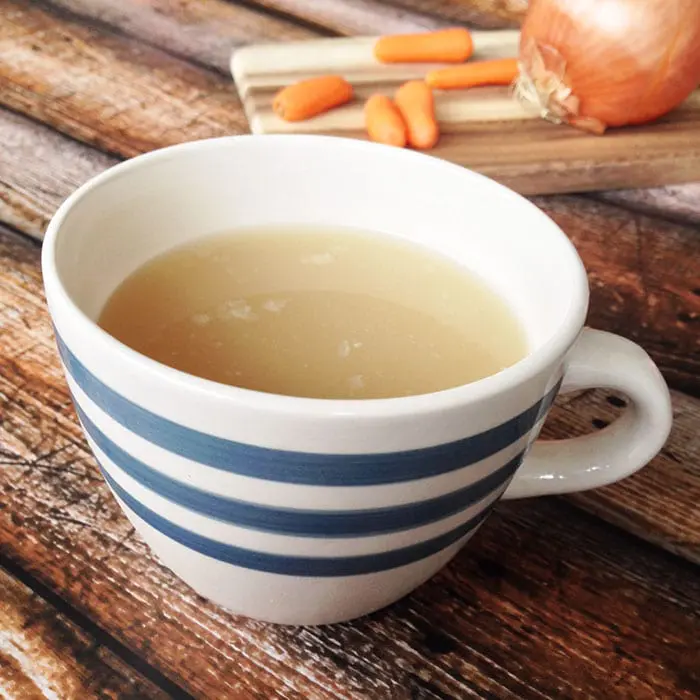
If homemade bone broth isn't part of your healthy lifestyle, I highly recommend you look into adding it.
Aside from the wonderful flavor, it is an inexpensive and effective way to add a ton of nutrition to your diet.
Keep reading and I'll show you exactly how I make mine.
What is bone broth?
Bone broth is a combination of animals bones, water and aromatics that is simmered for a long time time over heat.
Aside from it's healing properties, bone broth also adds a significant depth of flavor to dishes. It's better than any canned stock in the stores!
It can be made from almost any type of animal: beef, poultry, lamb, bison and fish work especially well.
If you've ever wondered why chicken soup is the go-to food when you're sick, bone broth is often the reason.
Healing properties
While bone broth is simmered for hours at a time, the bones and cartilage slowly breakdown to form a nutritious stock. Â Not only that, these vitamins and minerals are also easily absorbed by the body and super nourishing.
Another significant benefit is the extraction of gelatin/collagen. Â Yep, the same stuff that Jell-o is made out of!
Gelatin is extremely soothing to the body and promotes a healing in the gut.
Bone broth can benefits a long list of ailment that include:
- digestive problems (leaky gut, IBS)
- weak immune systems
- allergies
- strengthens and rejuvenates skin, hair and nails
- allergies
- brain function
With low-carb diets, bone broth has shown to be an effective way to minimize the effects of low-carb/keto flu by providing sufficient electrolytes.
Where do I get good quality bones?
The beauty of this recipe is that you can literally make it from your leftovers!
I find that I roast chicken quite a bit, so I just store the bones, carcass and wings in the freezer until I have enough to make broth.
You could also just as easily go to your local butcher (or local grocery store) and ask if they have any soup bones like knuckles, feet, etc.
These parts are usually sold dirt cheap and in some instances, even given away!
Pro tips for bone broth
If you notice that your liquid isn't gelling from the gelatin, try to add bones that are are full of ligaments and joints.
Adding chicken feet will work wonders for creating a super gelatinous bone broth.
Keep an eye on the mixture for the first hour or so. Â If a foamy layer starts forming on the top, simply skim it off with a spoon.
For the best flavor, make sure your bones are roasted before cooking. Â If they're still raw, just pop them in the oven for about a half hour at 350.
Apple cider vinegar
By adding apple cider vinegar to this recipe, you are allowing the broth to pull out more nutrients and making your bone broth even more nutritious!
Salt
Notice I didn't add much salt to this dish. Â I do that because you never really know what application you're using it in.
I personally like to control the salt content of my foods.
If you are using it for electrolyte replenishment, you can salt the whole thing!
You can do this on the stovetop, but I much prefer to use my crockpot.
How to Use
Use bone broth anywhere you would normally use stock or store-bought stock. Â I especially love to use it in soups and stews.

If you are familiar with bulletproof coffee, I make a similar drink that uses broth instead of coffee. Â I blend grass-fed Kerrygold butter into my morning warmed broth and go. Talk about a huge energy boost!

Chicken Bone Broth
Ingredients
- 2 lbs. chicken bones
- 1 onion sliced
- 2 carrots rough chop
- 1 stalk of celery rough chop
- 2 bay leaves
- 1 tablespoon black peppercorns
- 1 teaspoon sea salt
- 2 tablespoons apple cider vinegar
Instructions
- Put chicken bones and apple cider vinegar into slow cooker.
- Cover with filtered water until there is one inch less from the top.
- Put on low and simmer for 20-22 hours.
- Mixture should reduce quite a bit. Add in remaining ingredients and continue to cook for another 2-4 hours.
- After the time is up, filter mixture through mesh strainer or cheese cloth, into a heatsafe bowl.
- Cover with plastic wrap and chill.
- After mixture is completely cool, you'll notice it solidifying on the top. Remove the fatty layer that settles on top with a spoon and continue to cool.
- Store in the refrigerator for up to 3 days or freeze immediately for up to 6 months.

Terri
Have you ever added egg shells?
Dom Geracia
I have not but I've heard it's great for adding nutrition!
Vikki A Chowns
Does it affect the taste? Smell?